【Compose Multiplatform】KMPAuthを使用したFirebaseソーシャルログイン(Android編)

みなさんこんにちは。今回はCompose Mutiplatform第5回目の記事になります。
Firebaseとの連携をして、ソーシャルログインを実装してみましょう。
少し長い記事になるので、AndroidとiOSでそれぞれ記事を作成していこうと思います。今回はAndoridです。
これまでのCompose Multiplatform記事はこちら。
Compose Multiplatform入門(環境構築編)
Compose Multiplatform入門(プロジェクト作成編)
Compose Multiplatform入門(画面遷移編)
Compose Multiplatform入門(ロギング編)
Firebaseアプリケーションの作成
最初の段階では、Firebaseドキュメントの「AndroidプロジェクトにFirebaseを追加する」のページの通りに進めていけばOKです。今回はGoogleアカウントでのソーシャルログインを実装していこうと思うので、ログインプロバイダ「Google」を有効にしておきましょう。
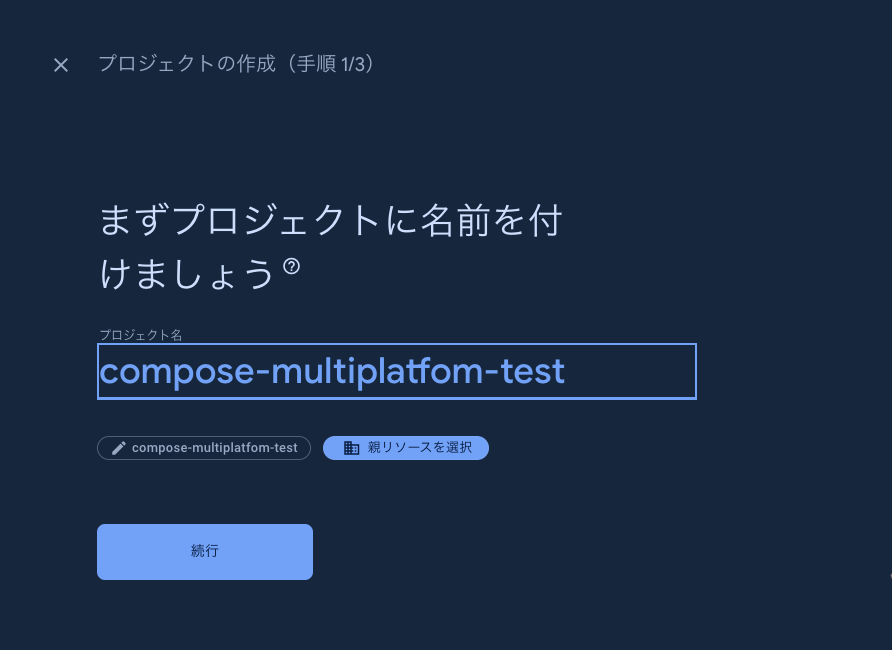
Firebaseアプリケーションの名前設定
アプリケーションの作成から、名前をつけます。既存のアプリケーションと被らないようにする必要があるようです。
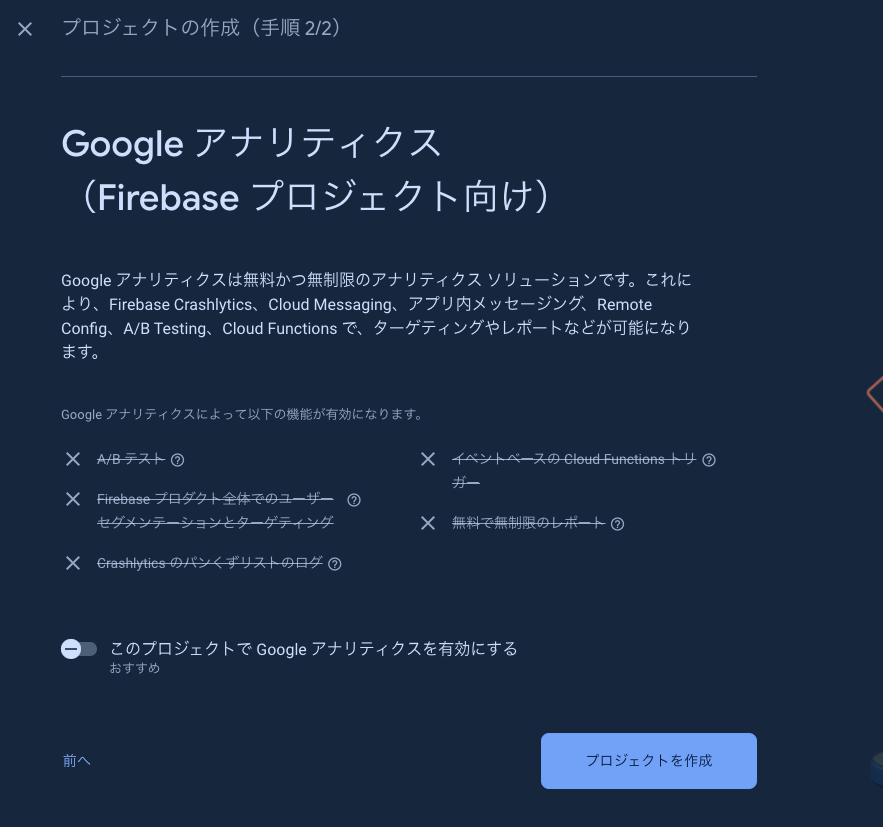
Googleアナリティクスの設定
今回はアナリティクス系の機能は使う予定がないので、OFFにしておきました。使用する予定がある場合はONのままで進みましょう。
パッケージ名・デバッグ用書名証明書SHA-1の設定
パッケージ名はAndroidStudioで開いたプロジェクトから確認しましょう。 build.gradle.kts にapplicationIdとして記載されているはずです。 デバッグ用書名証明書SHA-1フィンガープリントはkeytoolなどを使って用意しておきます。
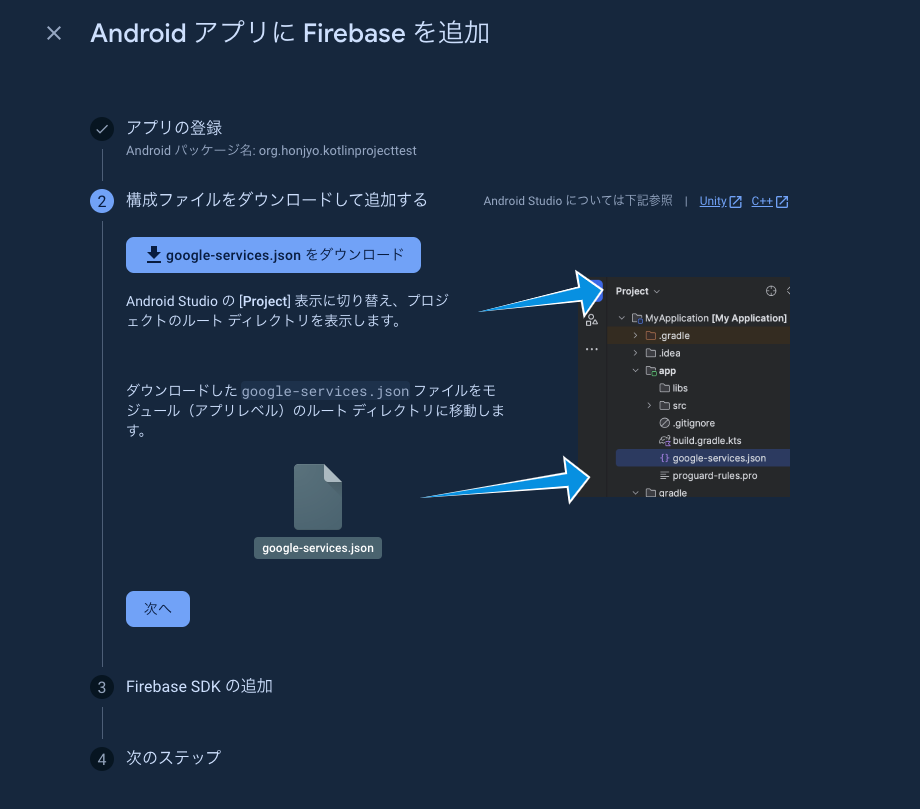
構成ファイルのダウンロード
パッケージ名・デバッグ用書名証明書SHA-1フィンガープリントを登録すると構成ファイル「google-services.json」が用意されるのでこちらをダウンロードします。 ダウンロードした構成ファイル・登録したデバッグ証明書のkeystoreファイルをcomposeApp直下に配置します。
KMPAuthの利用
公式ではまだCompose MultiplatformでのFirebase連携がサポートされていないので、有志の方が開発したライブラリ「KMPAuth」を利用します。 Compose MultiplatformプロジェクトでAndroid、iOSでのFirebase ソーシャルログインが使えるようになるライブラリです。libs.versions.tomlの更新
androidx-credentials = "1.2.2"
google-services = "4.4.2"
kmp-auth = "2.0.0"

[libraries]
androidx-credentials = { module = "androidx.credentials:credentials", version.ref = "androidx-credentials"}
androidx-credentials-play-services-auth = { module = "androidx.credentials:credentials-play-services-auth", version.ref = "androidx-credentials"}
kmpauth-firebase = { module = "io.github.mirzemehdi:kmpauth-firebase", version.ref = "kmp-auth" }
kmpauth-google = { module = "io.github.mirzemehdi:kmpauth-google", version.ref = "kmp-auth" }
kmpauth-uihelper = { module = "io.github.mirzemehdi:kmpauth-uihelper", version.ref = "kmp-auth" }

[plugins]
googleServices = { id = "com.google.gms.google-services", version.ref = "google-services" }
composeApp/build.gradle.ktsの更新
plugins {
    alias(libs.plugins.googleServices)
}

kotlin {
    sourceSets {
        androidMain.dependencies {
            implementation(libs.androidx.credentials.play.services.auth)
        }
        commonMain.dependencies {
            implementation(libs.kmpauth.google)
            implementation(libs.kmpauth.firebase)
            implementation(libs.kmpauth.uihelper)
        }

android {
    signingConfigs {
        // ここにkeystoreファイルの情報を書く
        getByName("debug") {
            storeFile = file("$rootDir/composeApp/debug.keystore")
            storePassword = ""
            keyAlias = ""
            keyPassword = ""
        }
    }
}
初期化処理を書く
KMPAuthを利用するときにはアプリケーション起動時に初期化を行う必要があります。 commonMain/kotlin ファイルにAppInitializer.ktファイルを作成し、初期化関数を書きます。
import com.mmk.kmpauth.google.GoogleAuthCredentials
import com.mmk.kmpauth.google.GoogleAuthProvider

object AppInitializer {
    fun onApplicationStart() {
        // クライアントIDはFirebaseでGoogleログインを有効化したときにgoogle-service.jsonに追加されるので、そちらを確認して入力する
       // client_typeが3のクライアントID
        GoogleAuthProvider.create(credentials = GoogleAuthCredentials(serverId = ""))
    }
}
androidMainファイル内のMainActivity.ktで初期化関数を呼びます。
class MainActivity : ComponentActivity() {

    override fun onCreate(savedInstanceState: Bundle?) {
        super.onCreate(savedInstanceState)
        AppInitializer.onApplicationStart()
        setContent {
            App()
        }
    }
}
Googleサインインボタンの配置
今回はHomeScreenにログインボタンを配置します。 ログイン状態がわかるように、ログイン後にGoogleアカウントの名前を表示するようにもしておきます。 画面がゴチャゴチャし始めるので、「Click me!」のボタン並びにボタン押下後の処理などは削除しました。
class HomeScreen : Screen {

    @OptIn(ExperimentalResourceApi::class)
    @Composable
    override fun Content() {
        val viewModel: HomeScreenViewModel = getScreenModel()
        val navigator = LocalNavigator.currentOrThrow

        Column(
            modifier = Modifier.fillMaxWidth(),
            horizontalAlignment = Alignment.CenterHorizontally
        ) {
            val anotherScreen = rememberScreen(Screens.Another(postId = "dummy_post_id"))

            Button(onClick = { navigator.push(anotherScreen) }) {
                Text("画面遷移")
            }

            var signedInUserName: String by remember { mutableStateOf("") }
            val onFirebaseResult: (Result) -> Unit = { result ->
                if (result.isSuccess) {
                    val firebaseUser = result.getOrNull()
                    signedInUserName =
                        firebaseUser?.displayName ?: firebaseUser?.email ?: "不明なユーザー"
                } else {
                    signedInUserName = "サインインしていません"
                    println("Error Result: ${result.exceptionOrNull()?.message}")
                }

            }

            GoogleButtonUiContainerFirebase(onResult = onFirebaseResult) {
                GoogleSignInButton(modifier = Modifier.fillMaxWidth()) { this.onClick() }
            }

            Text(
                text = signedInUserName,
            )
        }
    }
}
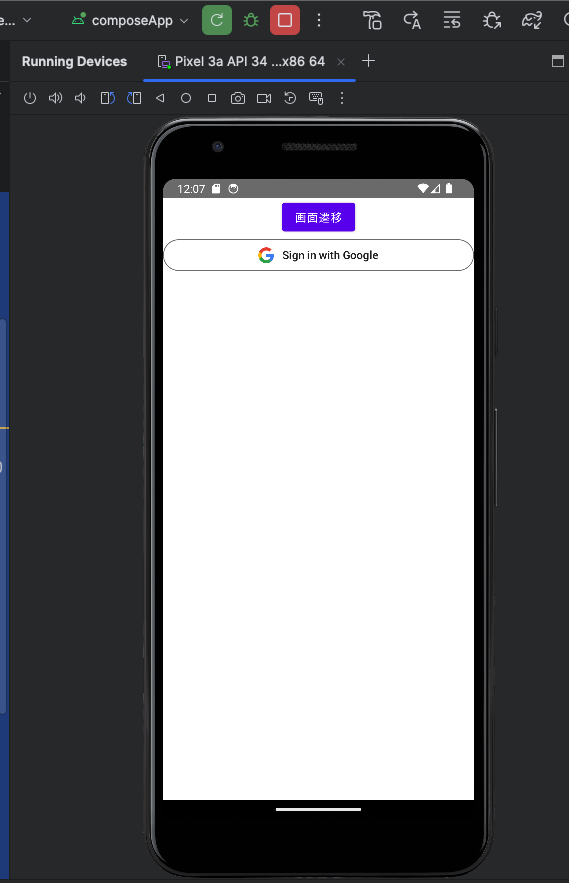
Googleサインインボタンが表示され、そのボタンを押してログイン処理を完了するとGoogleアカウントでの名前が表示されるかと思います。 そこまで実行できれば成功です!


